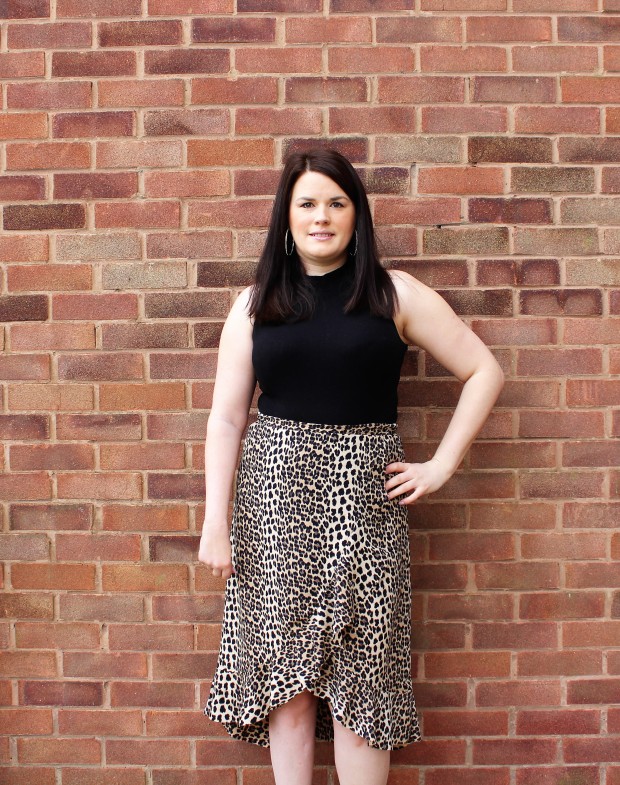
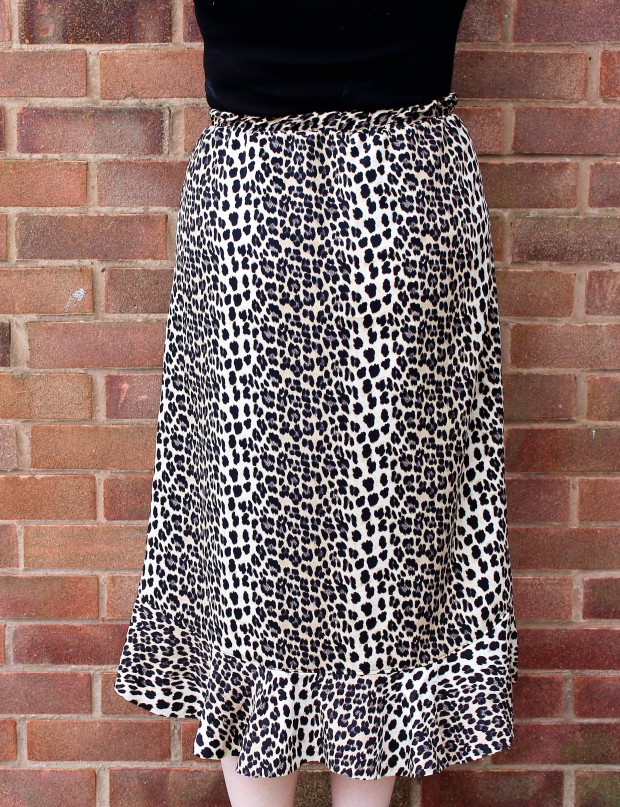
I’ve made another leopard print skirt of dreams! It’s items like this that make me glad I can sew! This skirt is perfect!
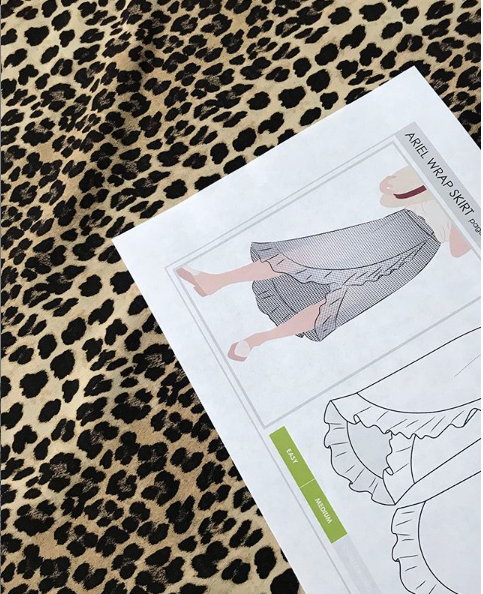
I spotted the leopard print crepe on Stoff & Stil’s website a few months ago and instantly knew that I needed in my life… well, in my wardrobe. I took a while to make a decision on which pattern to use. I had several different contenders. I knew I wanted to make a wrap style skirt with a frill and found a few patterns that fitted the bill. In the end I settled on the Ariel skirt by Style Arc.
I’d never used a Style Arc pattern before and it was nice to use a new to me pattern company. When you buy your PDF pattern, you choose which size you want and they only send you that size and the one bigger and the one smaller. I chose a 12 so I was sent the 10, 12 and 14. This is annoying if you ever want to make one for another person who is a completely different size but it is good when you are cutting out your pattern. There are no other sizes to get confused with!
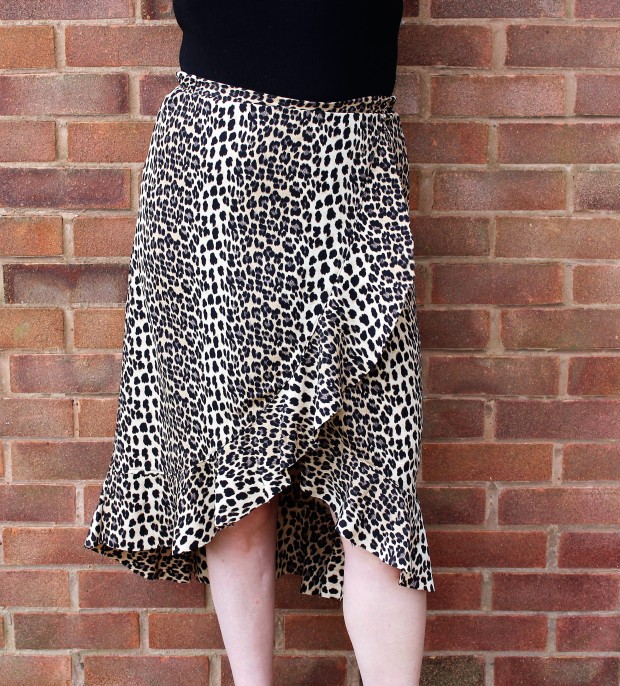
I would say that Style Arc aren’t ideal for beginners as their instructions are very basic. This skirt pattern had about 4 steps to construct the skirt and another couple of steps for attaching the waistband. Their instructions took about half a page whereas other companies fill an entire booklet. Luckily, the skirt construction was pretty simple. You sew the two front pieces to the back piece to create what is essentially a half circle skirt. Then you attach the frill together and then to the skirt. The trickiest part of this is making sure your frill is attached to the correct side. The skirt wraps right over left so the frill ends higher up on the right side.
You are supposed to finish the edge of the frill by folding it under and sewing it to create a mini hem but that’s far too fiddly so I left my frill edge unfinished. I’ll just have to not get it dirty so it never needs washing!

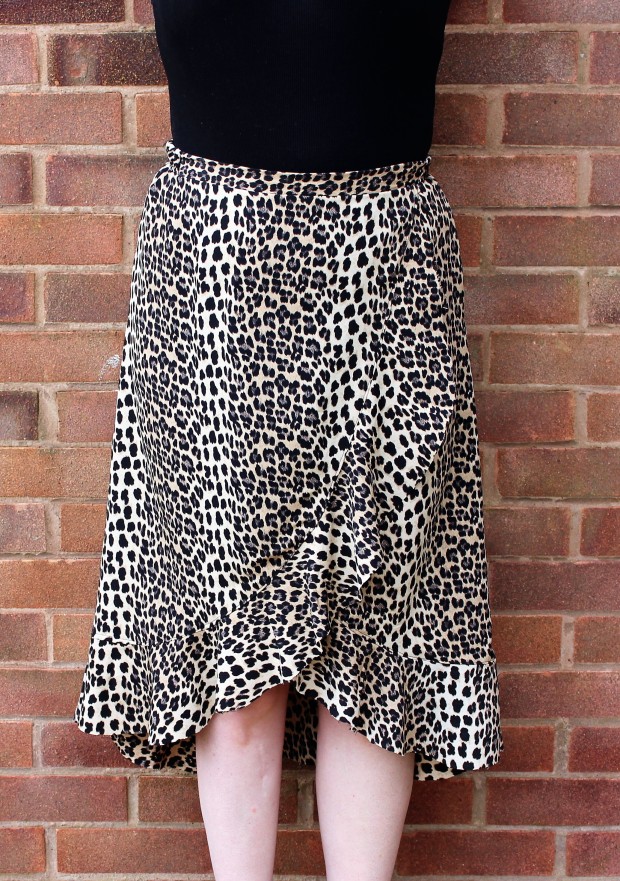
Once you’ve constructed the skirt, you move onto the waistband and this was where things got tricky. The front section of the waistband is just interfaced and lies flat. The back section (which is probably about 2 thirds of the waistband) is elasticated. This was one of the things that appealed to me about this pattern over some of the others I was considering. The instructions weren’t all that clear to me and in the end, I did my own thing. Looking back, the steps make a bit more sense but I kind of needed to have a go at it first. Anyway, my waistband is on and it’s ok but it’s not neat at all!
I really should take it off, use a slightly longer piece of elastic and reattach it but that’s too much like hard work! I’d rather make a whole new skirt!
This skirt fits beautifully once it’s on, however, getting it on is a pain! I cut the suggested length for my size for the elastic and as I was doing my own thing, I just sewed the waistband straight onto the skirt. The pattern does suggest pinning or tacking the waistband on first and trying the skirt on before attaching it properly. If I had done this, I would have found that the elastic needs to be a bit longer to get it over my bum and hips! I can literally only just get it on. If I put on so much as 0.5 inches onto this area then I won’t be able to get the skirt up! But as I said, it looks lovely when it’s on!
I do love this skirt and can’t wait for warmer weather to wear it. I can see this being a summer staple and I’m planning on losing weight over the next few months so maybe it’ll be easier to get on!
I’m also thinking about making another one, maybe a floral one or just a few plain ones! I’ll add them to my ever growing sewing queue!


2 thoughts on “Style Arc – Ariel Wrap skirt”